Before & After Photos
Click on a photo to enlarge.
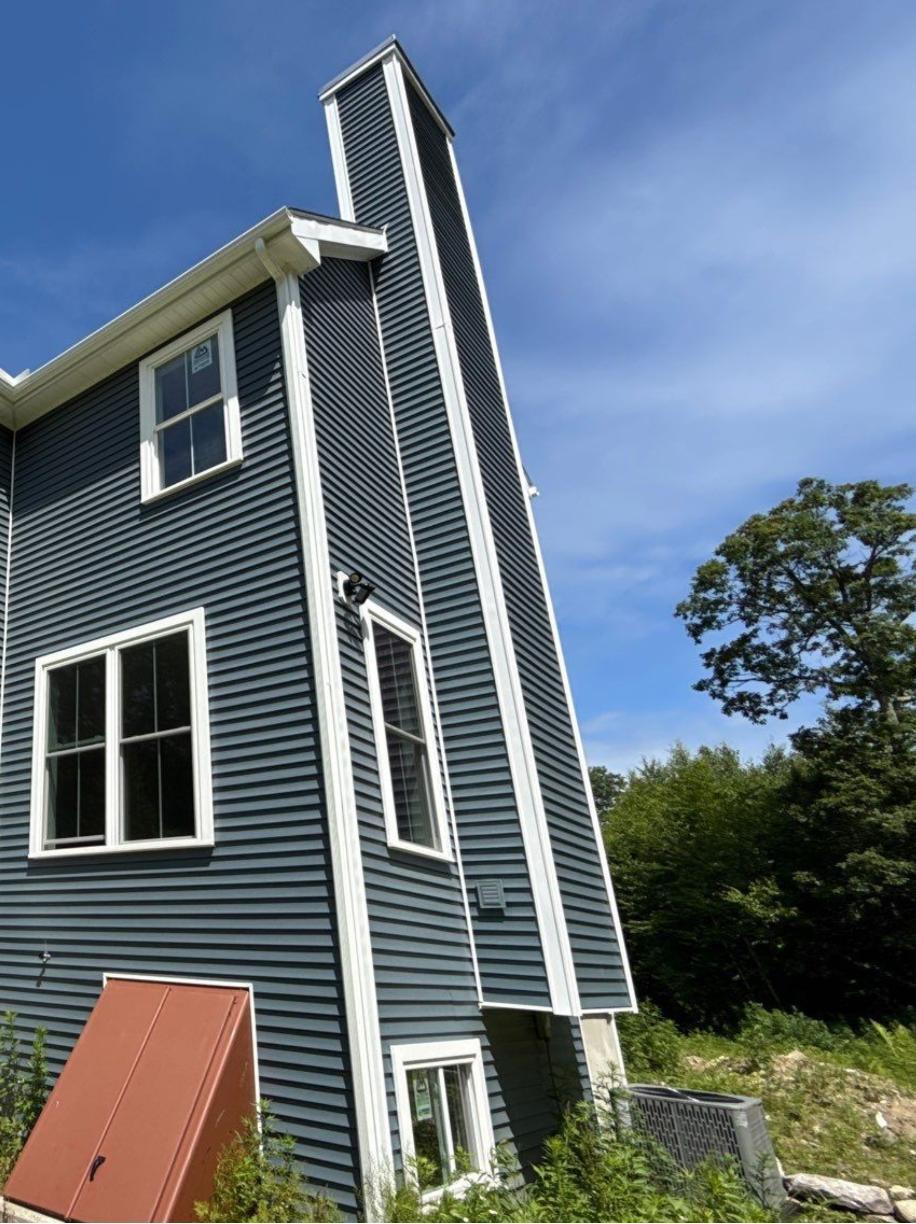
Installing a Radon Mitigation System in Somers, CT


This homeowner in Somers, CT called us hoping that we would be able to come out and help him with a home he had recently purchased. He was renovating the home both inside and out. During the renovations, he decided to test his home for radon. His basement came out to be 4.5 pCi/L, which is above the EPA's Radon Action Level of 4 pCi/L. He wanted to reduce the level to under 4 pCi/L. It was important to him to do this as soon as possible, as he wanted to complete all of the work in the basement at the same time.
We were able to help this customer. We installed a radon mitigation system in his home. We identified a specific room in the basement where the mitigation system would be best installed. We began by drilling the holes in the basement -- both in the concrete slab in the bottom and the hole for the exterior penetration. We then began installing the pipes and secured them inside the basement. He installed the manometer on the pipe on the inside of the home. The manometer measures the pressure of the radon in the system, indicating whether or not it is functioning correctly. After that, he went outside to build the rest of the system. He installed the fan on the outside of the home. Once the system was installed, he went back inside, sealing around all of the cracks and gaps in the basement. He also sealed all of the holes that had been drilled for the system. Now, this homeowner has a radon mitigation system designed to keep their levels low!
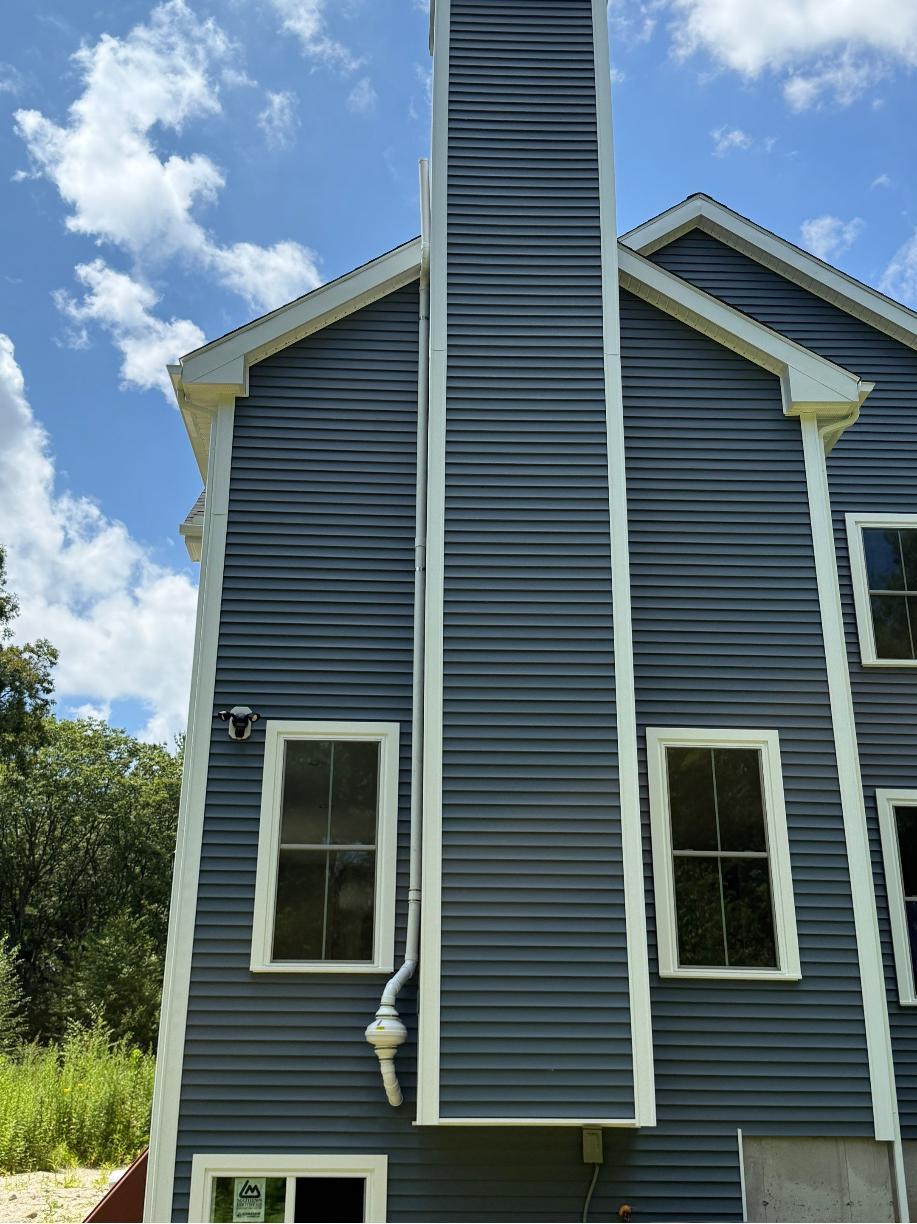
Adding a Radon Fan to a Home in Marlborough, CT


This homeowner in Marlborough, CT called us hoping that we would be able to help him with his home. His home's radon level had recently tested to be 7 pCi/L -- higher than the EPA's radon action level of 4 pCi/L. He wanted to have an evaluation in order to talk about mitigation solutions. He disclosed that the house had just been built, and it already had a radon pipe, just no fan. Our radon specialist came out in order to evaluate what solutions they would need.
We were able to help this customer. The existing radon system was completely internal -- it was routed up into the attic and out through the roof. We were able to help by adding a radon mitigation fan. This was added to the pipes in the attic. We also replaced the manometer in the basement with a brand new one. (The manometer measures the pressure of the radon gas in the pipe). We tested the system and were done. Now, this homeowner has a functioning radon mitigation system!
Installing a Radon Mitigation System in Belchertown, MA
This homeowner in Belchertown, MA spoke to us initially while he and his brother were tackling a mold issue in their mother's home. When he found out a few years later that we were now doing radon mitigation, he was very excited -- he had just built his new home, and he had installed a continuous radon monitor in his basement. They found that their radon level fell between 8 and 10 pCi/L on average. This is higher than the EPA's radon action level of 4 pCi/L. This was very concerning for him, as he had a toddler in the household. He wanted his level lowered as soon as possible for the health and safety of his family.
We had the perfect solution for this customer! We installed a radon mitigation system in his home. We identified the specific space where the mitigation system should be installed. After that, we drilled a hole in the floor as well as a hole in the wall for the exterior penetration. We put together the pipes, starting in the floor, and built it out through the exterior penetration to the outside. We secured the pipes to the wall, and then installed the manometer onto the pipe. (A manometer measures the pressure of the radon gas in the system, indicating whether or not the system is functioning). We then went outside to continue building out the system. We installed the fan and continued building out the pipes, securing them to the outside of the home. Our technician then sealed around the holes that had been drilled for the system. Now, the homeowner has a brand new radon system for their new home!
Installing a Radon Mitigation System in Ellington, CT


This homeowner called us hoping to be able to help him with his home. He had recently tested his home using a short term radon test kit, and the radon level came back at 4.1 pCi/L. This is over the EPA's recommended Radon Action Level of 4 pCi/L. He was hoping to mitigate his radon exposure for the health and safety of himself and his family. He wanted a mitigation solution that would match his needs.
We were able to help this customer. We installed a passive radon mitigation system in his home. Once the ideal space for the system is located, our radon mitigation technician was able to install it. He first started by drilling a hole into the concrete slab in the basement. Once the core had been removed, the radon technician installed a pipe and secured it. He also installed a manometer - which measures the pressure of the radon in the system. This is the indicator of whether or not the radon system is functioning correctly. He then drilled a hole for the exterior penetration and installed pipes for that as well. He then went to the outside of the home, installing the fan. The technician then sealed all cracks, gaps, and around the holes drilled for the system. After a quick test of the system, our radon technician was done and the homeowner was happy! Now he has a brand new mitigation system that will keep his radon levels low and his family more safe.
Replacing a Radon Fan in Columbia, CT

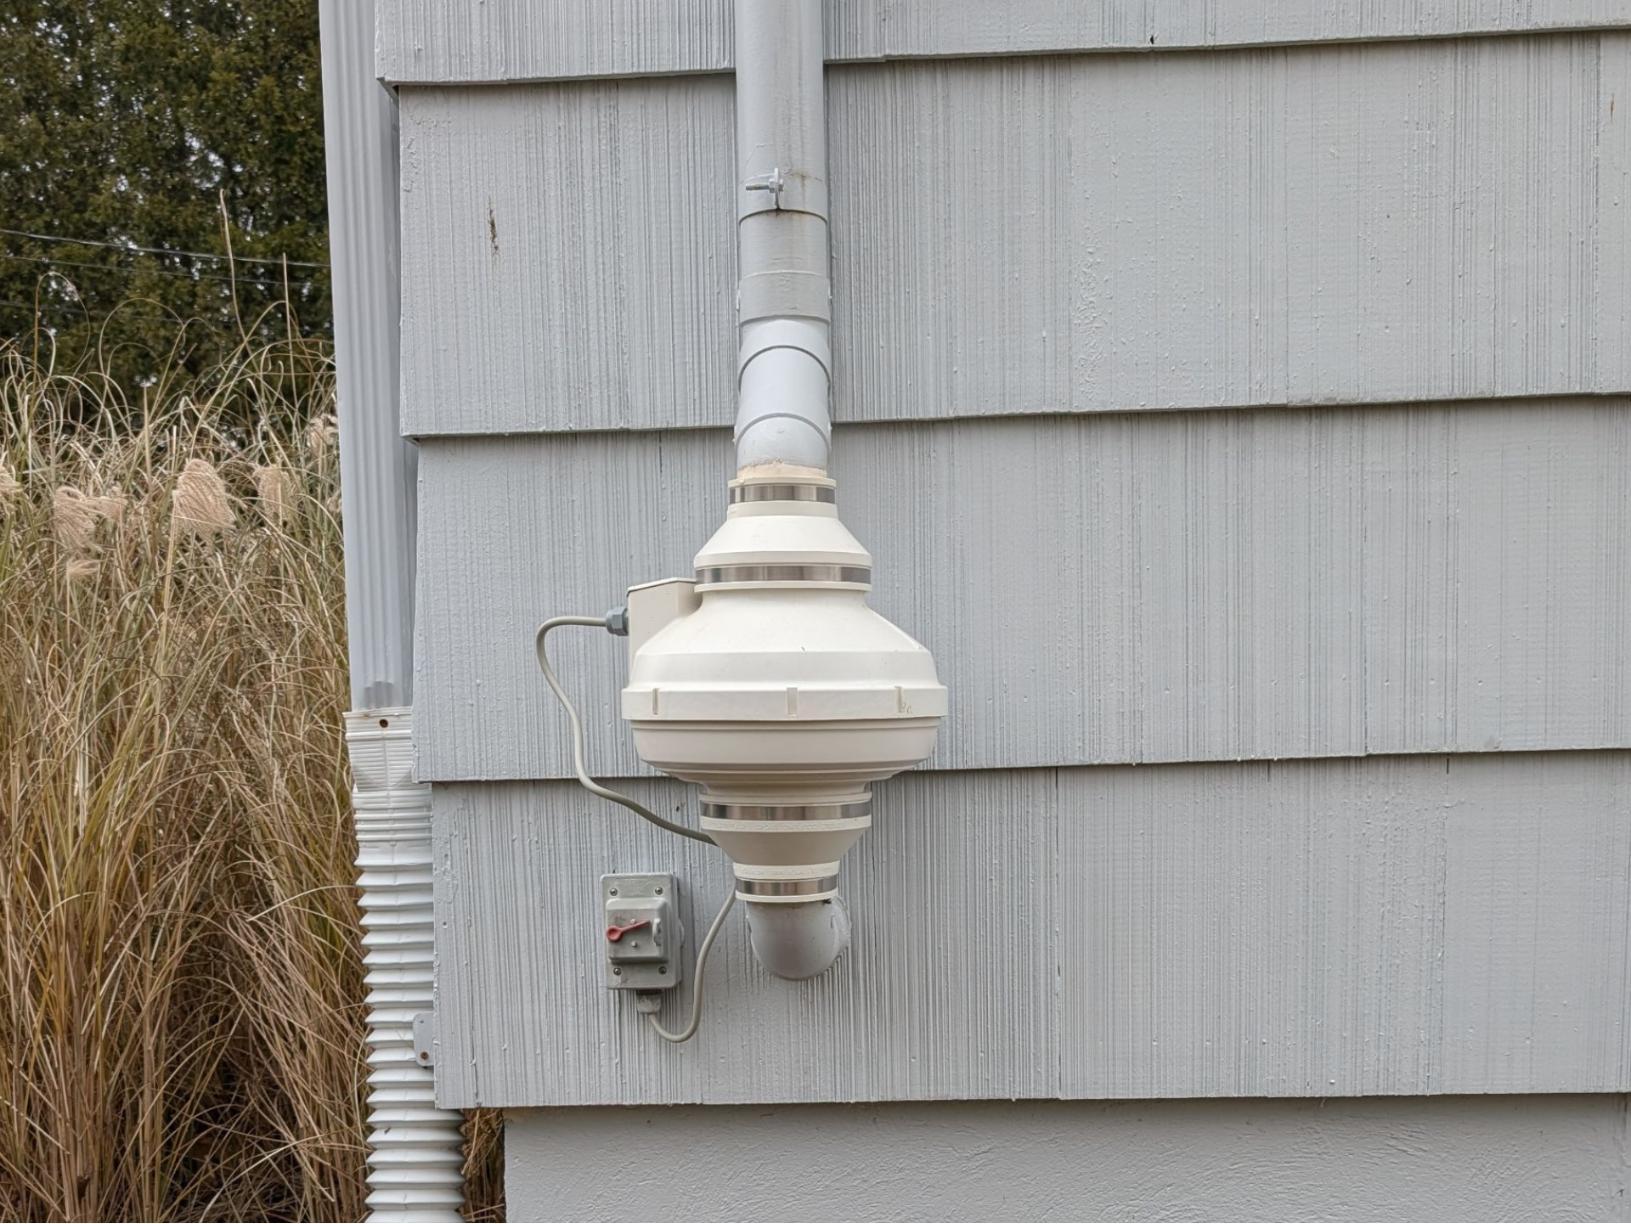
This homeowner in Columbia, CT contacted us regarding his radon fan. He had an existing radon mitigation system that was over 20 years old. He stated that it was obsolete and had most likely outlived its lifespan. He was also concerned because the manometer had a different reading than it normally did. Our radon specialist went out to the home to evaluate the system. He found that the radon fan needed to be replaced, which was exactly what the homeowner had thought.
We were able to help this customer! We replaced his old, broken fan with a brand new one. We utilize many different radon fans, depending on the specifics of the home. After identifying the perfect fan, we removed the old one. We then installed the new one in its place. We also replaced the manometer on the inside of the home and labeled the radon pipe appropriately. We finally tested the system to ensure it was functioning. Now, the homeowner is very happy!
