Before & After Photos
Click on a photo to enlarge.
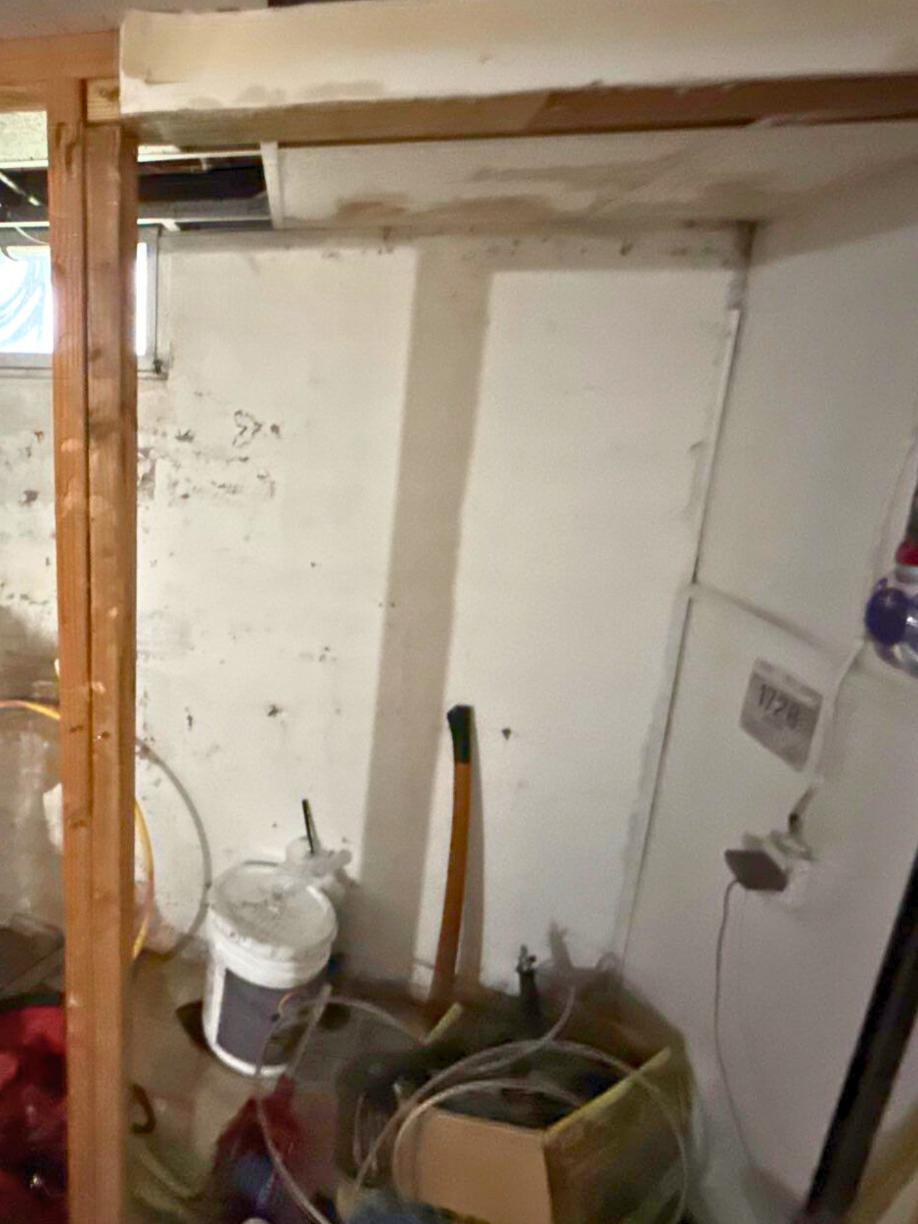
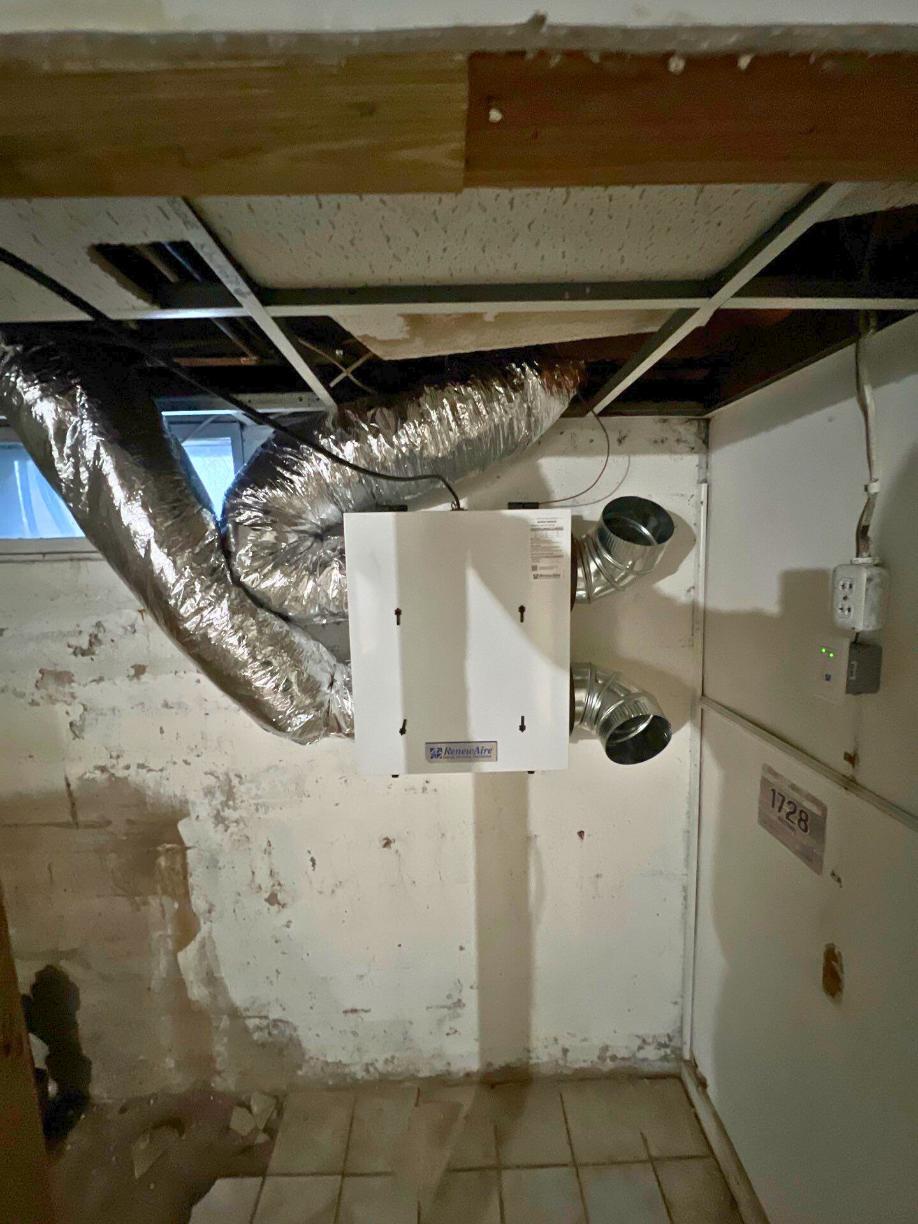
Installing an Energy Recovery Ventilator (ERV) in Feeding Hills, MA


This homeowner in Feeding Hills, MA called us hoping that we would be able to help her with her home. She and her husband were very concerned about their radon exposure. They had recently tested their home for radon. Their levels fluctuated between 2.2 pCi/L and 3.8 pCi/L. While this is under the EPA's radon action level of 4 pCi/L, the homeowner stated that they wanted their radon level as low as possible, and they were quite concerned about their exposure.
We were able to help this customer! We installed an energy recovery ventilator (ERV) in their basement. The ERV we installed was the RenewAire EV90, which is 90 CFM. We anchored a mounting plate to the wall. We then mounted the ERV to the wall. We began connecting the ductwork between the ERV and the outside vents. The intake vent is strategically placed to ensure that the air being brought into the home is the best possible quality -- so it is located away from driveways, as well as anything else that might bring in bad air such as HVAC vents or dryer vents. ERV intake vents are placed at least 10 feet apart from any exhaust vents. We also installed ductwork that brings the old air into the system and pushes the fresh air out of the system. The ERV works by removing stale indoor air from their basement and venting it outside. The fresh outside air gets pulled into the home. While the ERV is running, the temperature and humidity are transferred between the different air streams. For example, as it was a warm spring day, the hot, humid air was being pre-cooled and dehumidified by the air conditioned interior air. In the winter, it would be the opposite -- the cold outside air was being warmed and humidified by the inside air prior to it entering the home. The ERV transfers the temperature and humidity, but does not transfer any larger particles or toxins, which makes it perfect for people who are concerned about their radon exposure. We combined this with a radon mitigation system in order to ensure their radon levels were as low as possible. ERVs are amazing -- able to reduce radon levels 50-75% on average! The homeowners are happy -- they called in the day after the ERV was installed to say that they have already seen an improvement in the air quality in their home!
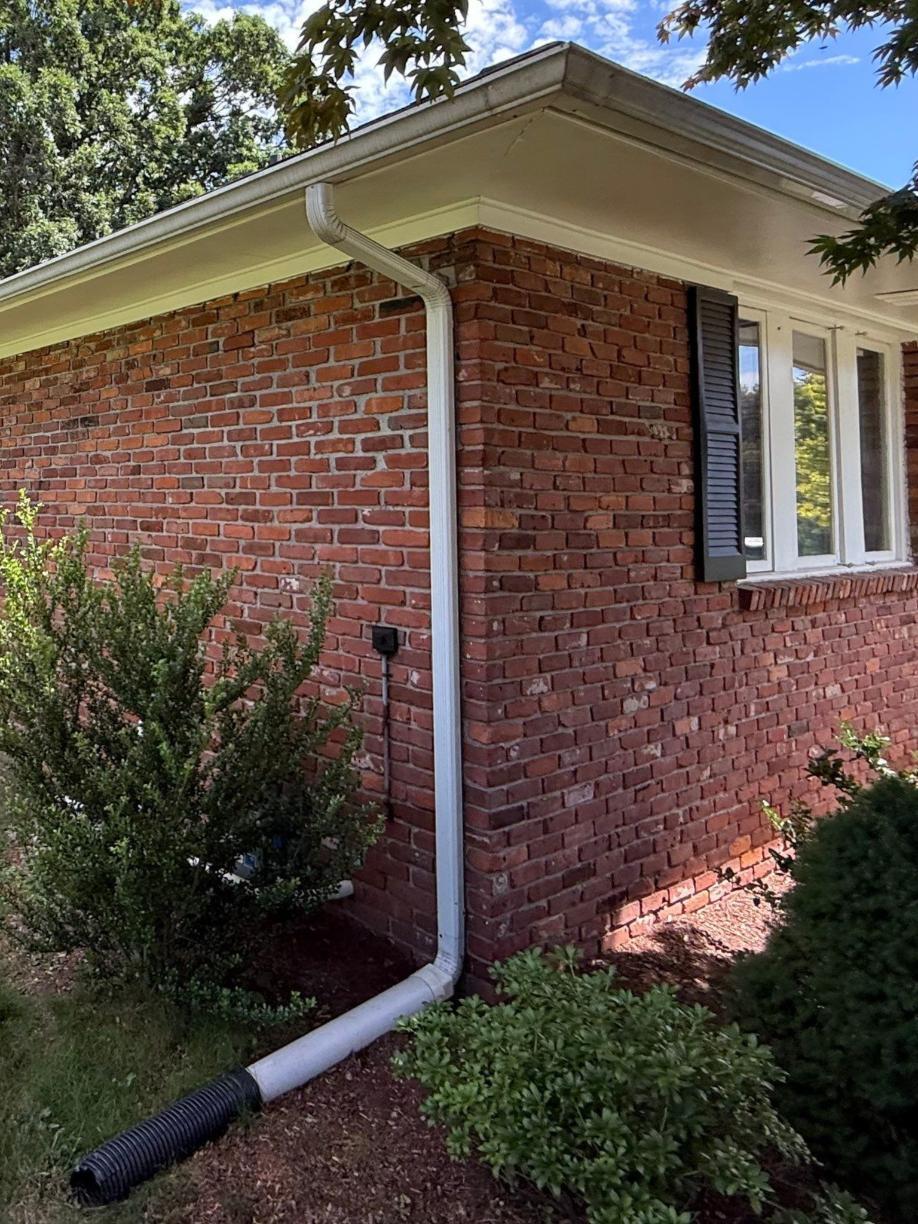
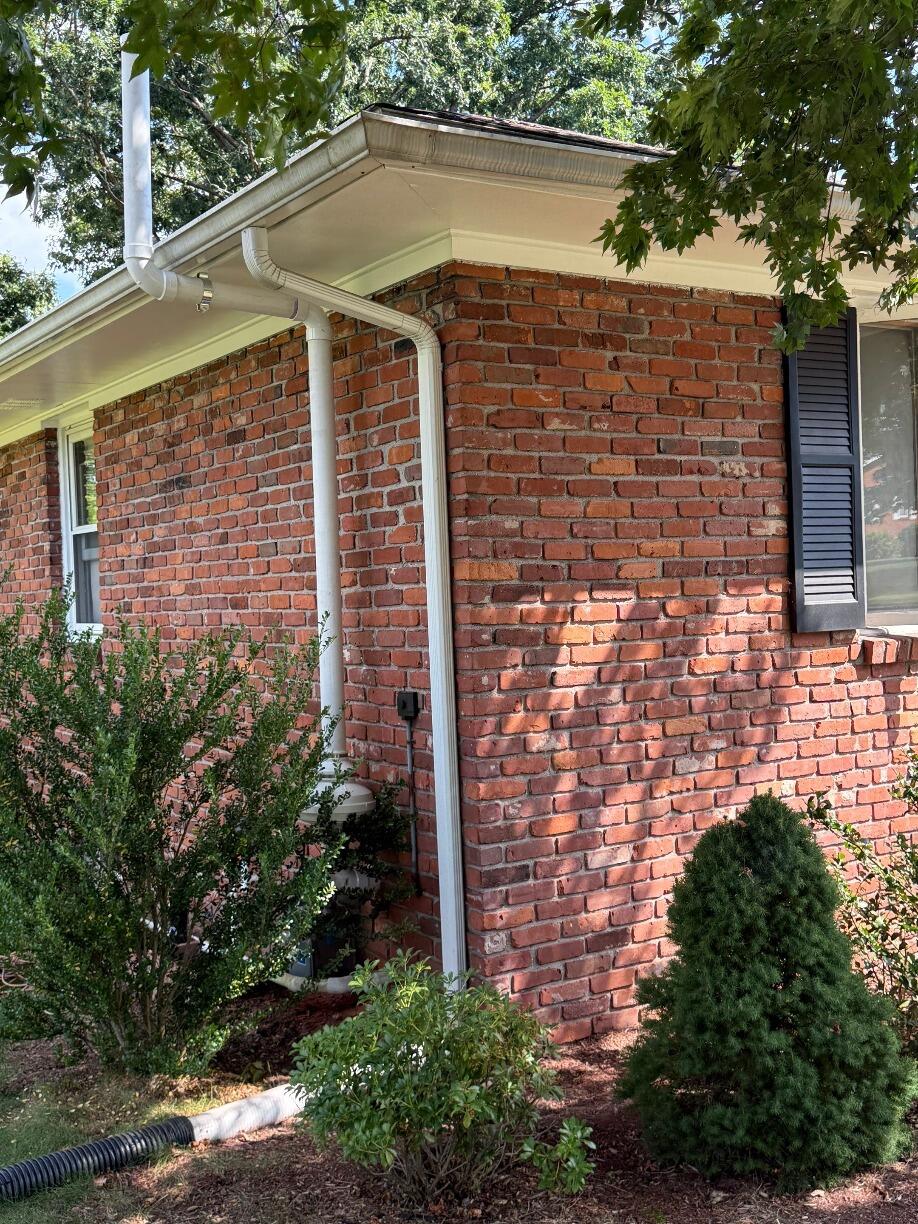
Installing a Radon Mitigation System in Windsor, CT


This homeowner in Windsor, CT called us hoping that we would be able to help him with his home. He had his home's radon levels tested, and it was testing between 2.48 - 3.12 pCi/L. While this is not over the EPA's recommended Radon Action Level of 4 pCi/L, he still was very concerned about his radon level. He stated that he wanted it "as low as possible", in order to make his home safer and more healthy for his family.
We were able to help this customer. We installed a passive radon mitigation system in his home. We began with finding the ideal spot for the mitigation system. After that, we drilled holes -- one in the concrete slab in the basement and one where the pipe will penetrate to the outside. We then installed the pipe, followed by a manometer. The manometer measures the pressure of the radon gas in the mitigation system, indicating whether or not it is functioning correctly. We then installed the fan on the outside of the home. After that, we sealed the cracks, gaps, and holes in the basement. We tested the system before we left to ensure that it was functioning. Now, this homeowner has a brand new mitigation system to keep his levels as low as possible!
Installing a Radon Mitigation System in Holyoke, MA


This homeowner in Holyoke, MA called us hoping we would be able to help him with radon mitigation. We had already scheduled a project at his home to insulate his basement, and he wanted us to be able to add on a radon mitigation system as well. He had utilized a short term radon test kit, and his radon level came out to be 15 pCi/L. This is much higher than the EPA's recommended radon action level of 4 pCi/L. He stated that he wanted his radon exposure mitigated for his family's health.
We were able to help this customer. We installed a passive radon mitigation system in his home. Once the ideal space for the system was located, our radon mitigation technician was able to install it. He first started by drilling a hole into the concrete slab in the basement. Once the core had been removed, the radon technician installed a pipe and secured it. He also installed a manometer - which measures the pressure of the radon in the system. This is the indicator of whether or not the radon system is functioning correctly. He then drilled a hole for the exterior penetration and installed pipes for that as well. He then went to the outside of the home, installing the fan. The technician then sealed all cracks, gaps, and around the holes drilled for the system. After a quick test of the system, our radon technician was done and the homeowner was happy! Now he has a brand new mitigation system that will keep his radon levels low and his family more safe.
Installing an Energy Recovery Ventilator (ERV) in Middletown, CT
This homeowner in Middletown, CT called us because she was concerned about her radon exposure. She had a young child that lived in the home, and was concerned about the child's exposure to radon. The radon level in her basement had gone up and was now around 2 pCi/L. While this is under the EPA's radon action level of 4 pCi/L, the homeowner stated that they wanted their radon level as low as possible, and they were quite concerned about their exposure. Her family was keeping the windows open in the home to mitigate the exposure. This is despite the fact that it was the middle of winter, with temperatures frequently between 20-30F during the day. They needed a solution.
We were able to help this customer! We installed an energy recovery ventilator (ERV) in their basement. The ERV we installed was the RenewAire EV90, which is 90 CFM. We anchored a mounting plate to the wall. We then mounted the ERV to the wall. We began connecting the ductwork between the ERV and the outside vents. The intake vent is strategically placed to ensure that the air being brought into the home is the best possible quality -- so it is located away from driveways, as well as anything else that might bring in bad air such as HVAC vents or dryer vents. ERV intake vents are placed at least 10 feet apart from any exhaust vents. We also installed ductwork that brings the old air into the system and pushes the fresh air out of the system. The ERV works by removing stale indoor air from their basement and venting it outside. The fresh outside air gets pulled into the home. While the ERV is running, the temperature and humidity are transferred between the different air streams. For example, as it was a cold winter day, the cold outside air was being warmed and humidifier by the inside air prior to it entering the home. In the summer, it would be the opposite. The hot, humid air would be pre-cooled and dehumidified by the air conditioned interior air. The ERV transfers the temperature and humidity, but does not transfer any larger particles or toxins, which makes it perfect for people who are concerned about their radon exposure. ERVs are amazing -- able to reduce radon levels 50-75% on average!
Installing a Radon Mitigation System in South Hadley, MA
This homeowner in South Hadley, MA called us hoping to talk about installing a radon mitigation system. He was considering buying a home, and he and his real estate agent were looking for information before the sale went through. The home had an average of 5 pCi/L, and went as high as 12 pCi/L at times. We were able to work to accommodate their needs.
We were able to help this customer. Once he purchased the home, we installed a radon mitigation system. We began by drilling the holes in the basement -- both in the concrete slab in the bottom and the hole for the exterior penetration. He then began installing the pipes and secured them inside the basement. He installed the manometer on the pipe on the inside of the home. The manometer measures the pressure of the radon in the system, indicating whether or not it is functioning correctly. After that, he went outside to build the rest of the system. He installed the fan on the outside of the home. Once the system was installed, he went back inside, sealing around all of the cracks and gaps in the basement. He also sealed all of the holes that had been drilled for the system. Now, this homeowner has a system designed to keep the radon levels in his home low!
