Before & After Photos
Click on a photo to enlarge.
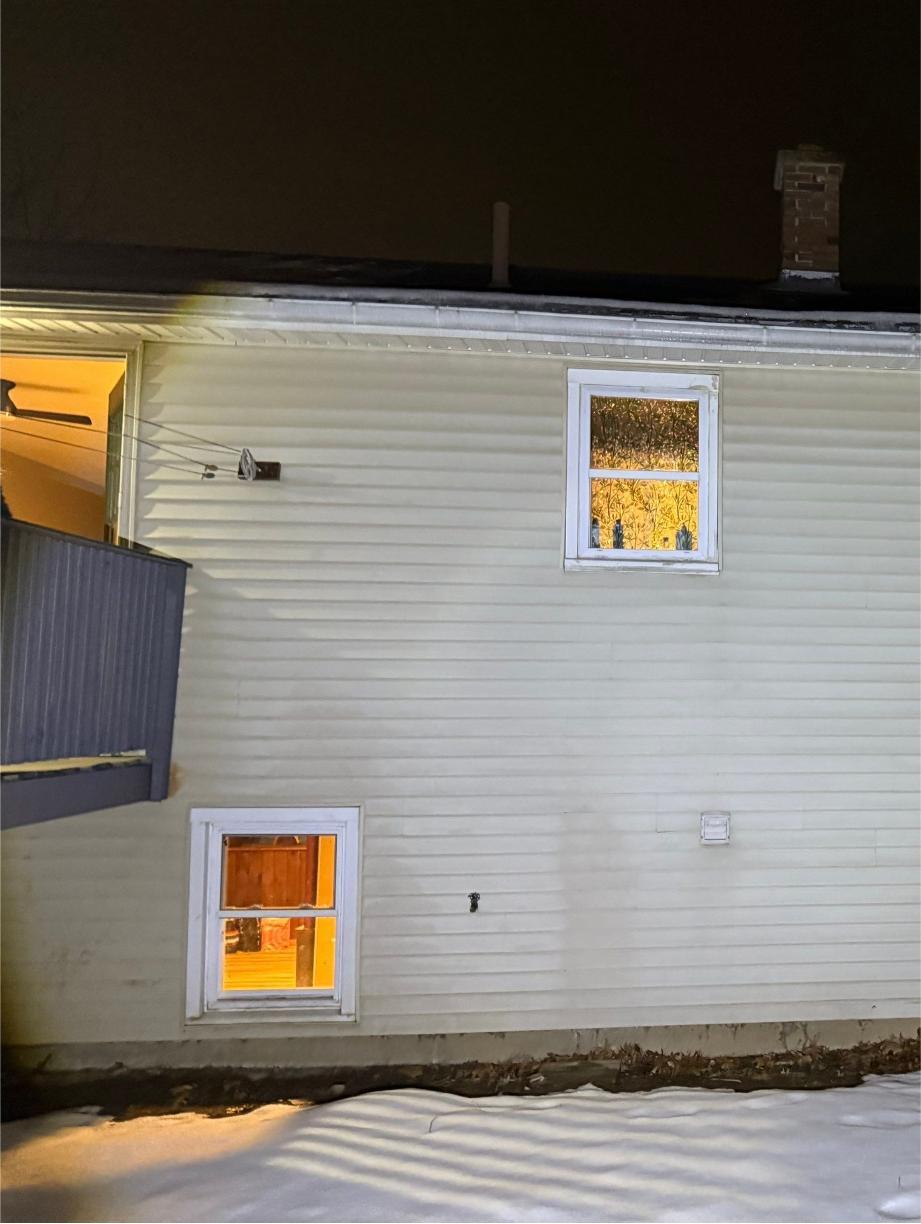
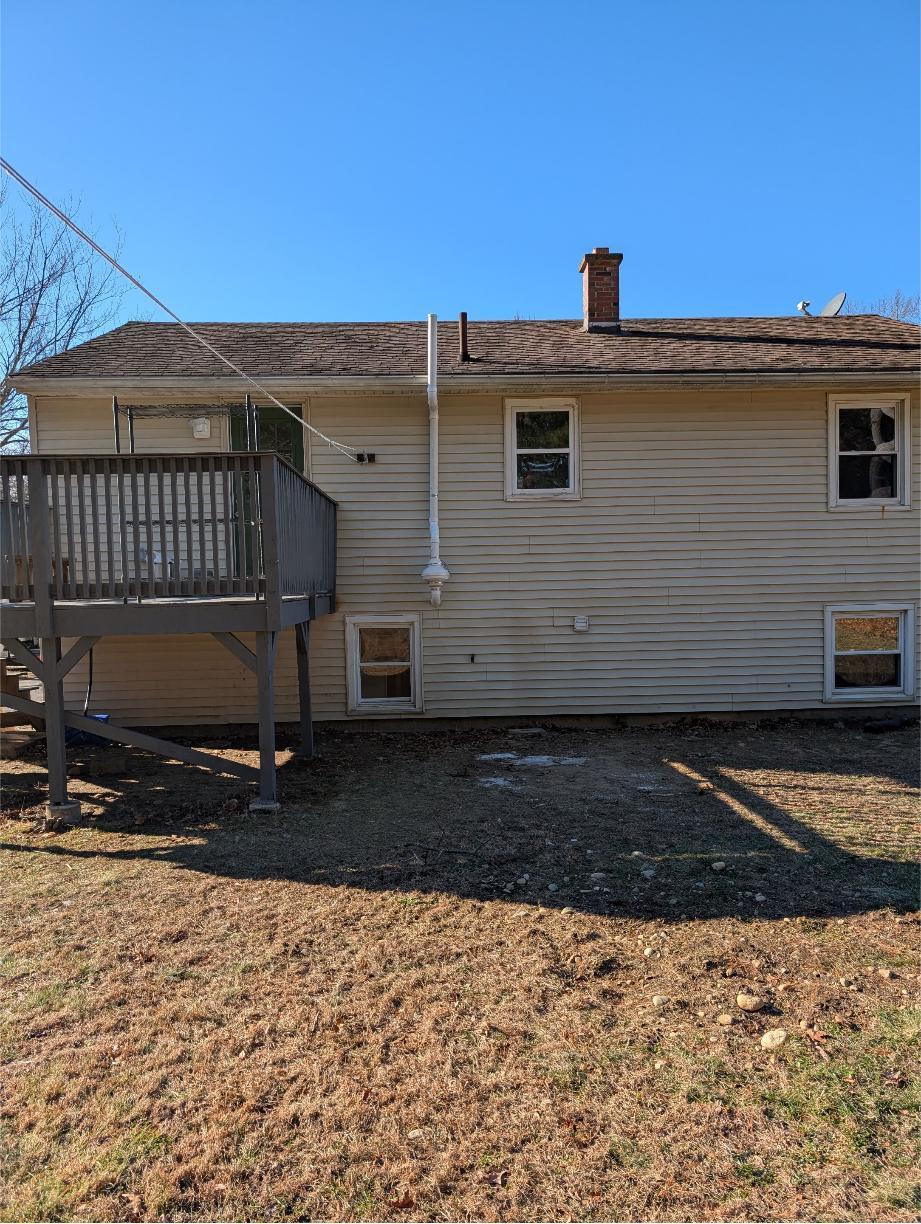
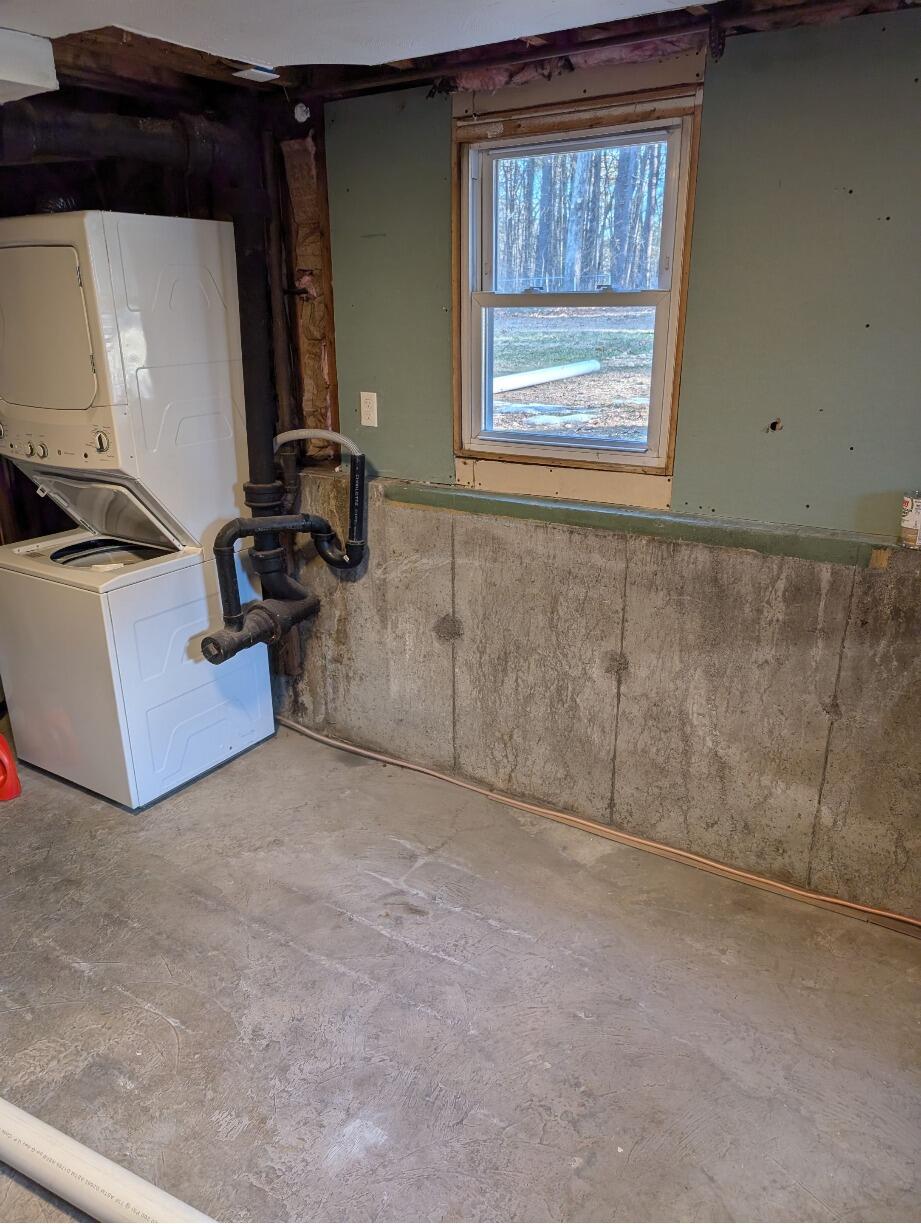
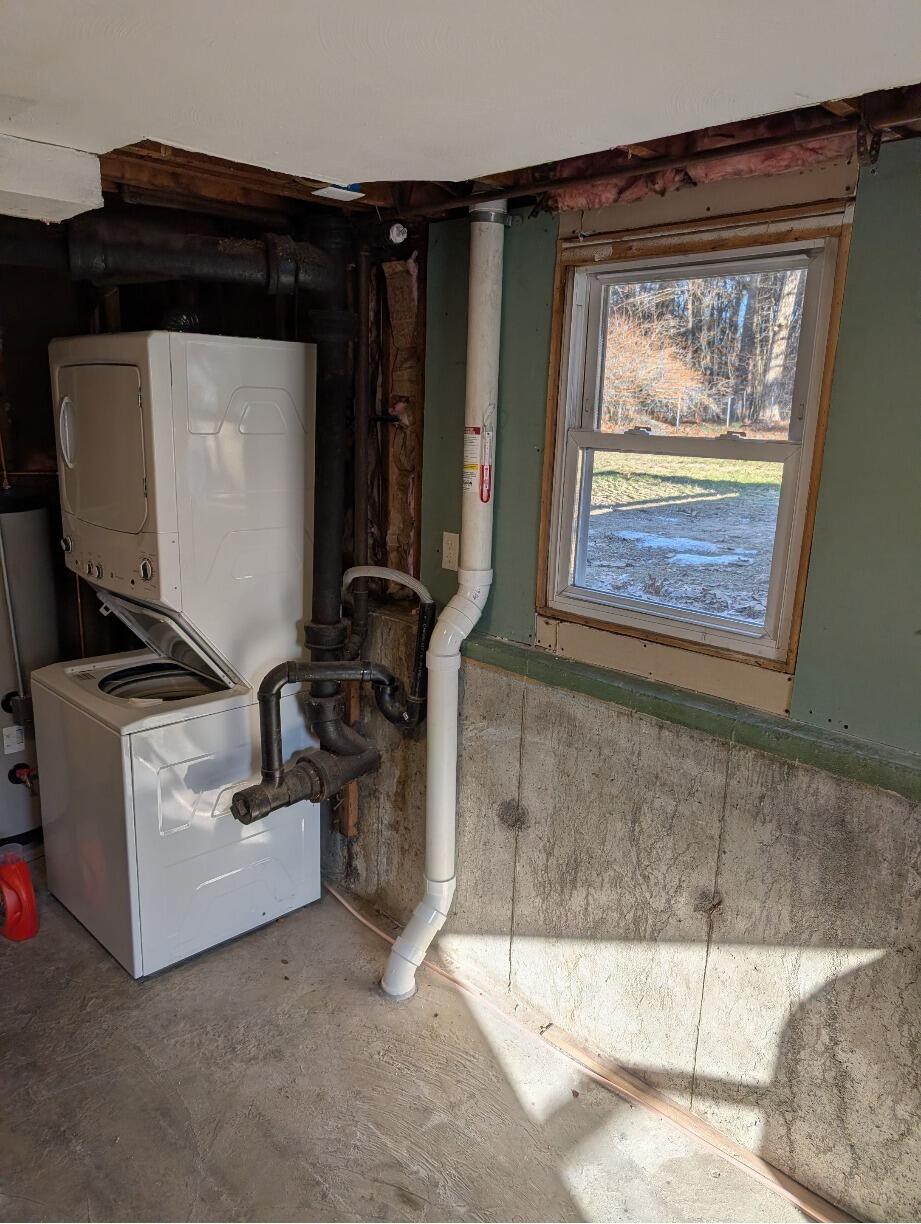
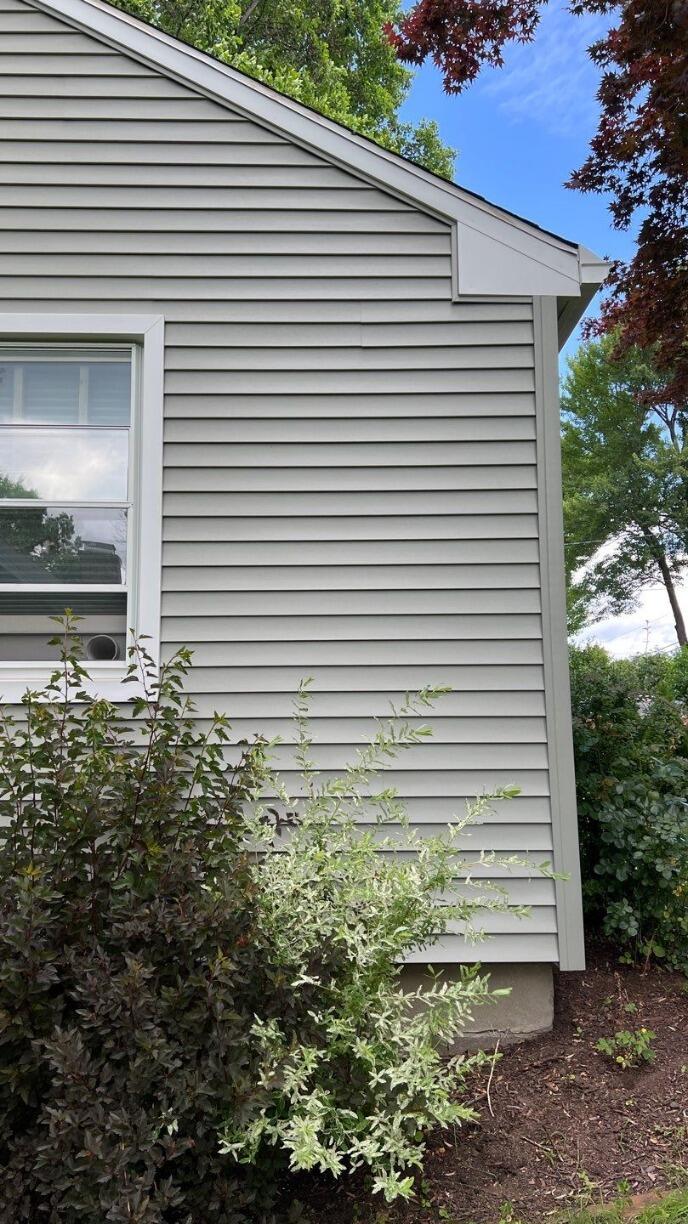
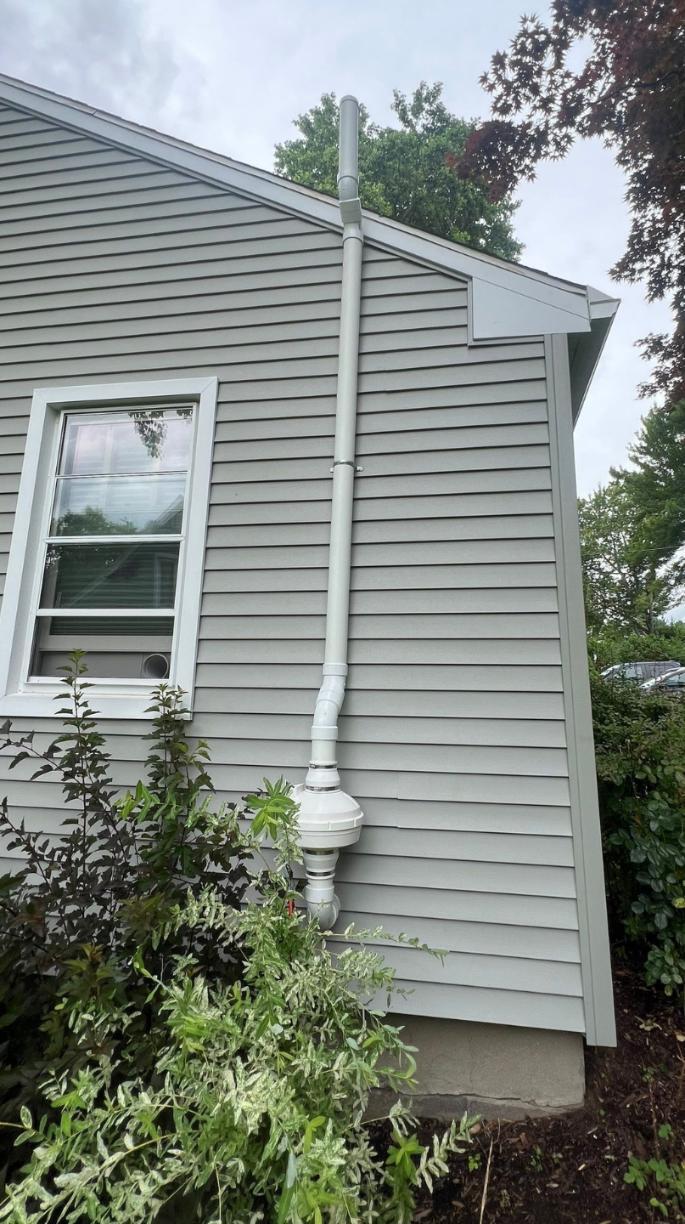
Installing a Radon Mitigation System in Southington, CT


This homeowner in Southington, CT called us stating that his home's radon level came out to 9 pCi/L. This is higher than the EPA's radon action level of 4 pCi/L, which concerned him quite a lot. He wanted to install a mitigation system in order to lower his levels as soon as possible. Our radon measurement specialist came out to the home and identified the best spot for the mitigation system.
We were able to help this customer. We installed a radon mitigation system in his home. We began by drilling the holes in the basement -- both in the concrete slab in the bottom and the hole for the exterior penetration. He then began installing the pipes and secured them inside the basement. He installed the manometer on the pipe on the inside of the home. The manometer measures the pressure of the radon in the system, indicating whether or not it is functioning correctly. After that, he went outside to build the rest of the system. He installed the fan on the outside of the home. Once the system was installed, he went back inside, sealing around all of the cracks and gaps in the basement. He also sealed all of the holes that had been drilled for the system. Now, this homeowner has a system designed to keep the radon levels in his home low!
Installing a Radon Mitigation System in Westfield, MA
This homeowner in Westfield, MA reached out to us after purchasing a home. During the home buying process, the radon level was tested. It came back as 5.2 pCi/L, which is above the EPA's radon action level of 4 pCi/L. She wanted to get this fixed as soon as possible, as she wanted to feel comfortable before she moved into her home.
We were able to help this customer. Once he purchased the home, we installed a radon mitigation system. We began by drilling the holes in the basement -- both in the concrete slab in the bottom and the hole for the exterior penetration. He then began installing the pipes and secured them inside the basement. He installed the manometer on the pipe on the inside of the home. The manometer measures the pressure of the radon in the system, indicating whether or not it is functioning correctly. After that, he went outside to build the rest of the system. He installed the fan on the outside of the home. Once the system was installed, he went back inside, sealing around all of the cracks and gaps in the basement. He also sealed all of the holes that had been drilled for the system. Now, this homeowner has a system designed to keep the radon levels in her home low!
Installing a Radon Mitigation System in Westfield, MA
This homeowner in Westfield, MA reached out to us hoping to get information about radon mitigation systems. She had recently tested her home and it came out to be over 5 pCi/L. This concerned her, as it is above the EPA's radon action level of 4 pCi/L.
We were able to help this customer. Once he purchased the home, we installed a radon mitigation system. We began by drilling the holes in the basement -- both in the concrete slab in the bottom and the hole for the exterior penetration. He then began installing the pipes and secured them inside the basement. He installed the manometer on the pipe on the inside of the home. The manometer measures the pressure of the radon in the system, indicating whether or not it is functioning correctly. After that, he went outside to build the rest of the system. He installed the fan on the outside of the home. Once the system was installed, he went back inside, sealing around all of the cracks and gaps in the basement. He also sealed all of the holes that had been drilled for the system. Now, this homeowner has a system designed to keep the radon levels in her home low!
Installing a Radon Mitigation Fan in Westhampton, MA


This homeowner in Westhampton, MA called us hoping that we would be able to help her with her radon mitigation system. She wanted to sell her house, however, the radon system they already had installed was non-functioning. She stated that at one point, the system became quite noisy, so she shut it off. When she went to turn it back on, it would not start.
We were able to help this customer. We replaced her old, non-functioning radon fan with a new one. We utilize many different radon fans depending on many different factors. This home required our Festa AMG Maverick fan. Now, this homeowner has a functioning radon mitigation fan, and she will feel confident listing her home on the market!
Installing a Radon Mitigation System in West Suffield, CT
This homeowner in West Suffield, CT called us hoping to talk about his home. He was purchasing a home, and the home inspection showed that he had a radon level above the EPA's radon action level of 4 pCi/L. Specifically, the radon level was 4.2 pCi/L. This was concerning to the homeowner, and he wanted to get a mitigation system installed as soon as possible.
We had the perfect solution for this customer! We installed a radon mitigation system in his home. We identified the specific space where the mitigation system should be installed. After that, we drilled a hole in the floor as well as a hole in the wall for the exterior penetration. We put together the pipes, starting in the floor, and built it out through the exterior penetration to the outside. We secured the pipes to the wall, and then installed the manometer onto the pipe. (A manometer measures the pressure of the radon gas in the system, indicating whether or not the system is functioning). We then went outside to continue building out the system. We installed the fan and continued building out the pipes, securing them to the outside of the home. Our technician then sealed around the holes that had been drilled for the system. Now, the homeowner has a brand new radon system for their home!
