
Before & After Photos
Click on a photo to enlarge.
Seamless Fan Upgrade in North Haven - No Disruption, Just Protection
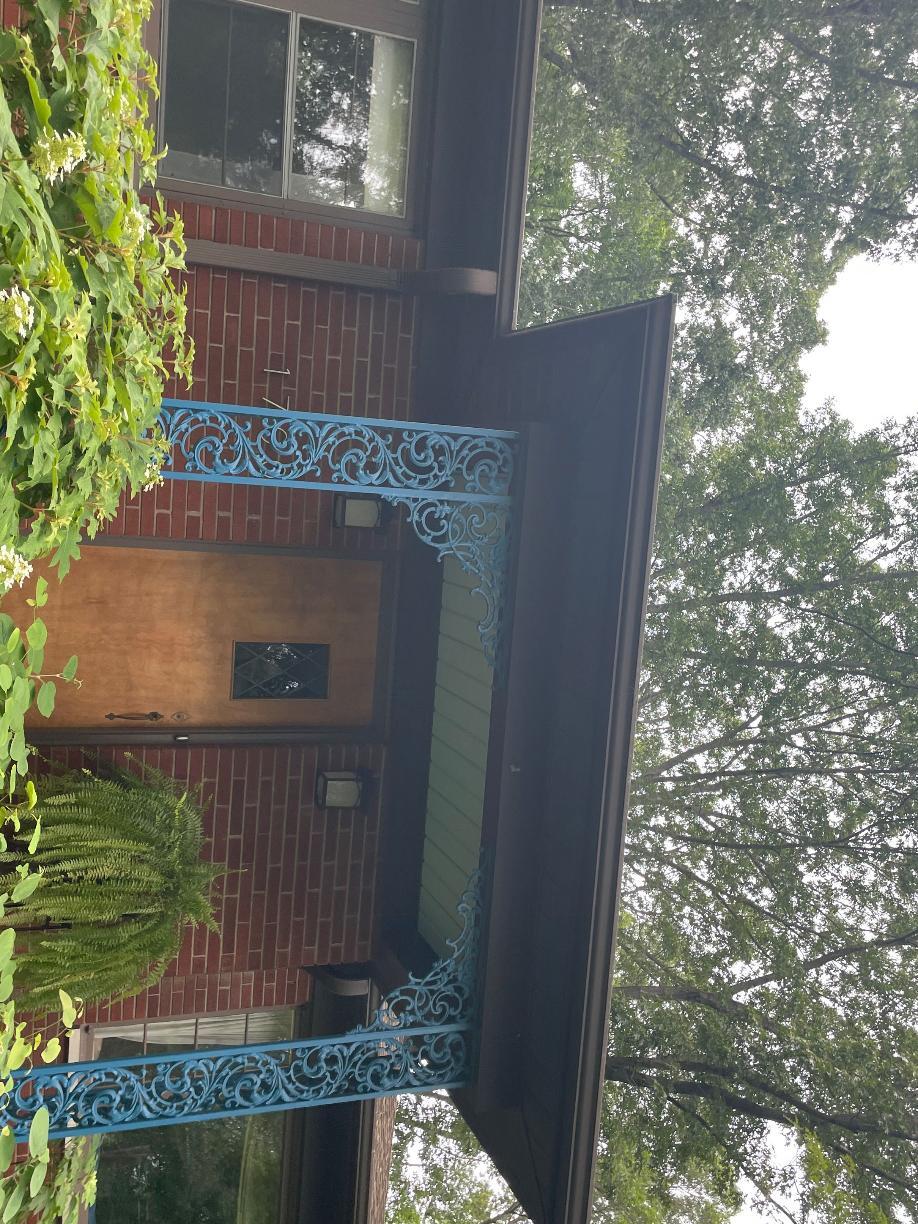
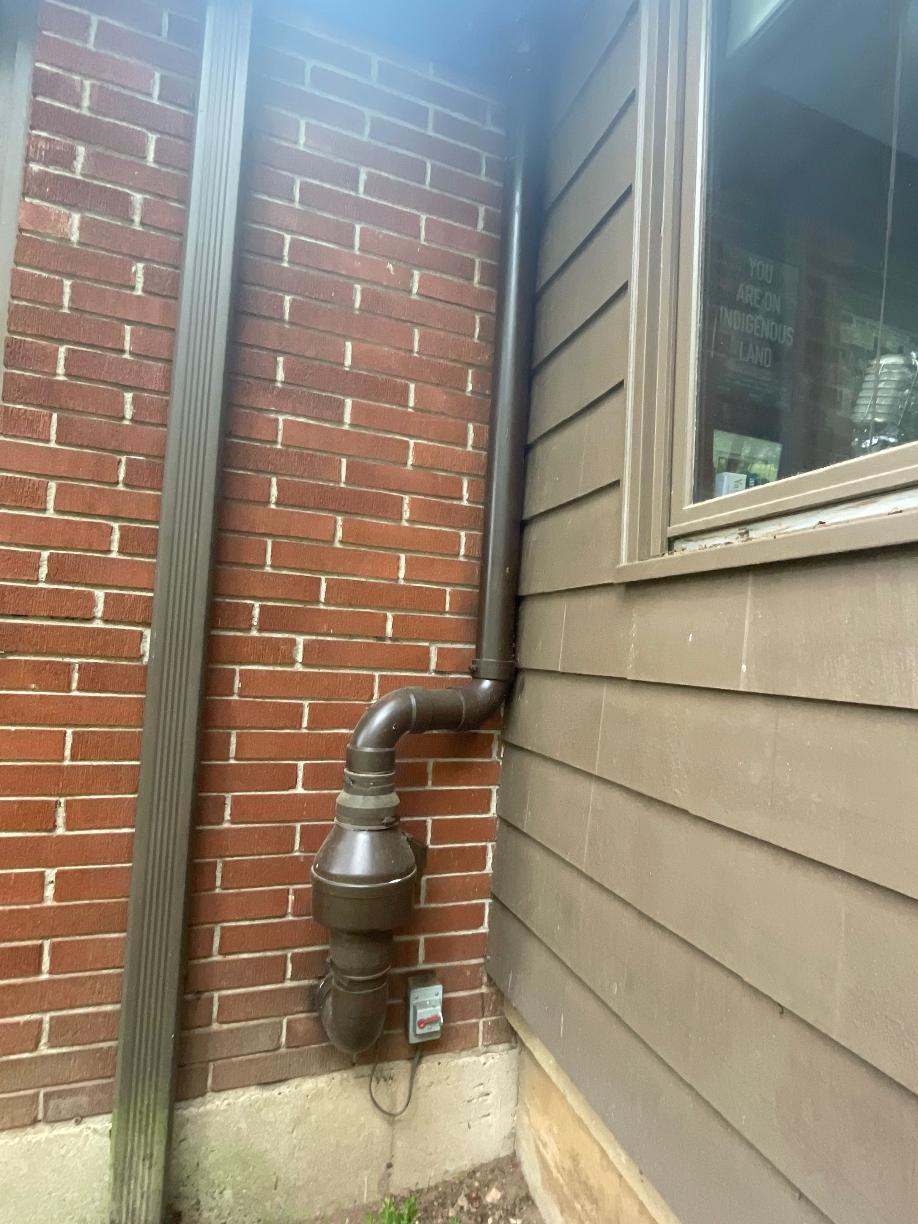
Before: Older RadonAway XP201C fan operating above acceptable radon levels at 6.9 pCi/L.
After: Upgraded fan installation using reused painted couplers to maintain the home’s aesthetic while ensuring proper suction and airflow. A clean swap for ongoing peace of mind.
Securing Radon Safety in Granby: Before and After


Explore the transformative effect of our radon mitigation efforts in a Granby home through our before and after visuals. Starting with a radon level of 6.7 in a vacant property, we installed a comprehensive radon mitigation system designed to ensure the property’s safety for prospective buyers. The after photos illustrate the system's discreet integration into the home, ready for thorough radon level reassessment before it goes on the market.
Radon Readiness in Wallingford: From CRM Testing to Planning


Before installing a radon system, this Wallingford homeowner scheduled a site estimate and CRM testing for their mid-century ranch home. With multiple foundation zones, including crawl spaces and a sealed sump pump, our team evaluated air movement and designed a mitigation plan to exit the right side of the house. While there are no after-install photos just yet, this step is a key part of setting the home up for radon safety success.
From Passive to Powered: Radon Safety in Wallingford
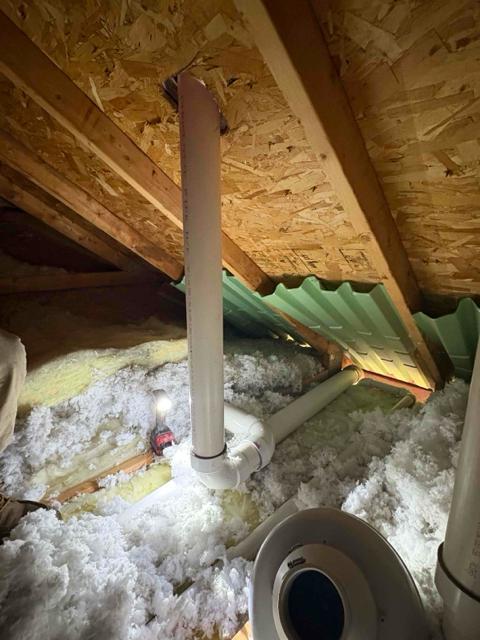
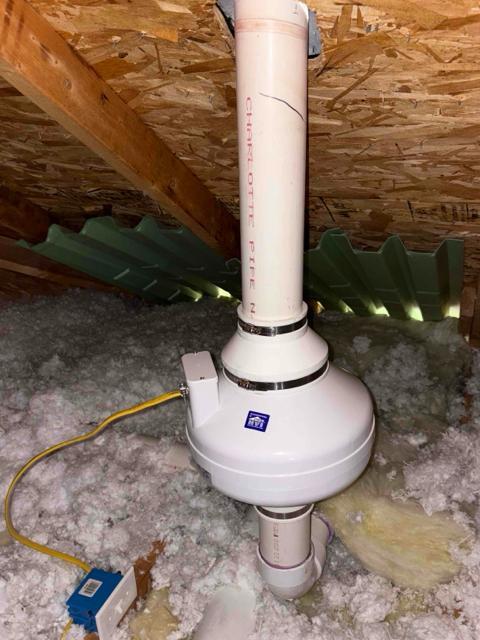
Before: A suspected passive radon system was in place, but no active fan or mitigation power source was verified. The radon level had reached 5.1 pCi/L, just above the EPA’s action threshold.
After: We assessed the system, confirmed the passive layout, and converted it into an active mitigation system to guarantee proper airflow and reduce radon levels. A smooth upgrade—no delays, no disruptions, and full peace of mind for the incoming buyer.
From Exposure to Encapsulated - A Two-Pipe Solution
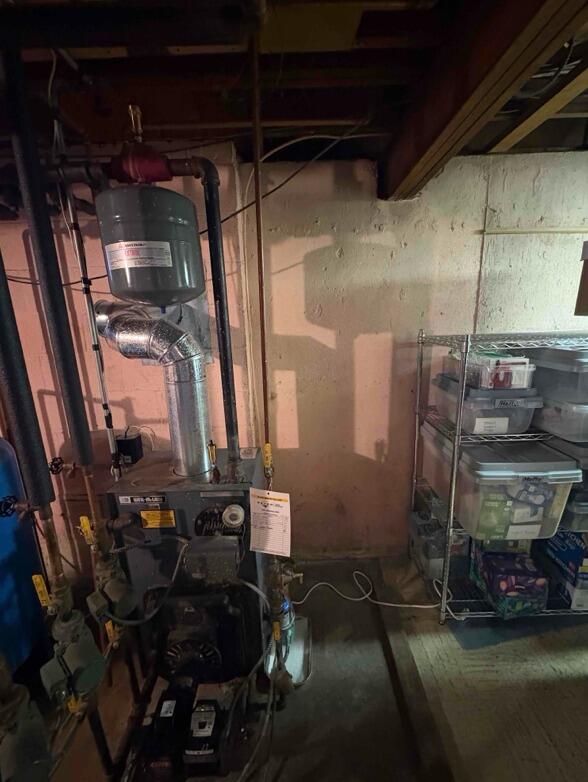
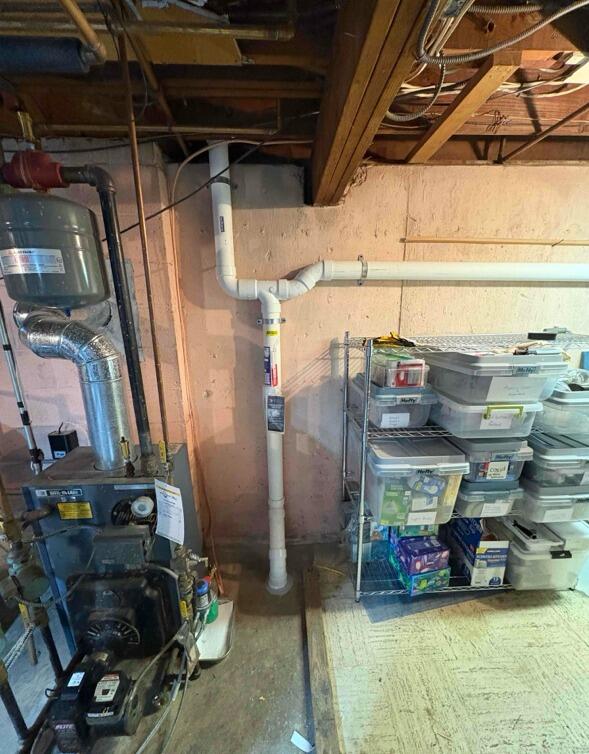
With radon levels testing at 7.0 pCi/L, the home required a two-pipe system to effectively mitigate.
The current crawl space was previously unsealed and will be fully encapsulated during this job.
The homeowner also mentioned concern about a neighbor’s loud radon system, prompting us to ensure quiet system operation, likely with a better muffler solution or insulation.
After install, the radon system will route pipes strategically, with quiet airflow management and sealed sump or vent exits if present.
The before photos will show the unsealed dirt crawl space, and after photos will document the sealed environment and the full mitigation system in place.


