Click on a photo to enlarge.
The customer lives along the coastline, so being in a moist climate did their crawlspace more harm than good. Along with no one being down there for quite some time, it ended up being in shambles. So Pedro and his crew cleaned it out and installed a 6 mil Vapor Barrier to help protect the home from water intrusion.
Water absorbs into old fiberglass like a sponge, making it water heavy and grow mold. This homes old insulation was a mess, and the homes heating and cooling costs were high. With a full encapsulation we were able to help them regain control over their HVAC costs and make their home dry and healthy!
This homes crawl space had standing water present. To address this before major water damage occurred, the homeowners called up John's Waterproofing to receive their free inspection and discuss options for a solution. In the end they chose to have a full encapsulation to ensure their below-grade space would be dry, stable, and healthy.
When water permeates the air, it will get absorbed into what is around it. In this case, into the old fiberglass insulation. From there the weight of the water will pull the insulation down in either strips or in globs. To insulate a crawl space properly, our encapsulation process uses TerraBlock over the dirt floor and spray foam along the foundation walls. This provides a long lasting insulation that is not damaged by water.
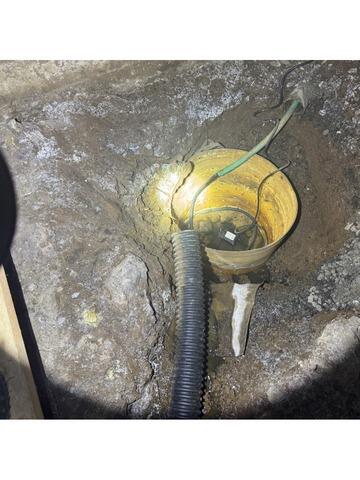
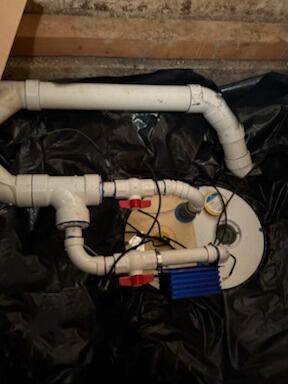
This homeowner was having issues with water entering their crawl space and causing damage to their foundation, so they reached out to John's Waterproofing to get the job done and avoid further damage to the home. We sent out one of our system design specialists to perform a free inspection and estimate. After inspecting the crawl space the system design specialist met with the homeowner to discuss the right solution for this home. They agreed on an encapsulation for this crawl space as well as structural work. This homes foundation was settling due to water damage, so we start this project by installing our Helical Pier system. This process uses steel tubes which are drilled deep down into the soil with hydraulics. The piers are then attached to the homes foundation and the homes weight is transferred to the piers and the stable soil deep beneath the home. Next, our team goes into the crawl space to remove the debris including the old vapor barrier. We then dry out the crawl space to make sure the water is out. Our team digs a trench around the interior perimeter of the crawl space to lay down a perforated pipe into a silt sock. This will secure a safe passage for the water to drain to the TripleSafe Sump pump at the lowest point. Next our team installs a discharge line to properly drain water away from the homes foundation. This is connected to our LawnScape Outlet, which is a grated drain that allows water to pass through and has a removable lid to clean out any debris that may enter. Our team then installs our TerraBlock system, this goes directly on the dirt floor of the crawl space, acting as an insulated barrier between the home and the earth. Next, our CleanSpace system is laid out on top of the TerraBlock, it goes along the foundation walls and up to the rim joists. All of the vents in the crawl space are sealed shut to prevent outside air from getting in. Since the spaces exterior access way was a damp plywood door our team upgraded this with our EverLast Door, which will not mold or succumb to weather issues. To control the environment, our team installs our SaniDry Sedona Dehumidifier. This will eliminate damp musty odors by drying and filtering the air. It will keep the home below 55% relative humidity, promoting clean air throughout the entire home. Lastly, to finish this project, we spray our foam insulation along the foundation walls and up to the rim joists. This will ensure an air tight seal in the crawl space. Now this homeowner can be sure that their crawl space is healthy and protected.